
Blog
August 14, 2026
·8 min readHow to Add a 3D Product Viewer to WooCommerce: A Launch Checklist

Otuokon Nsikak
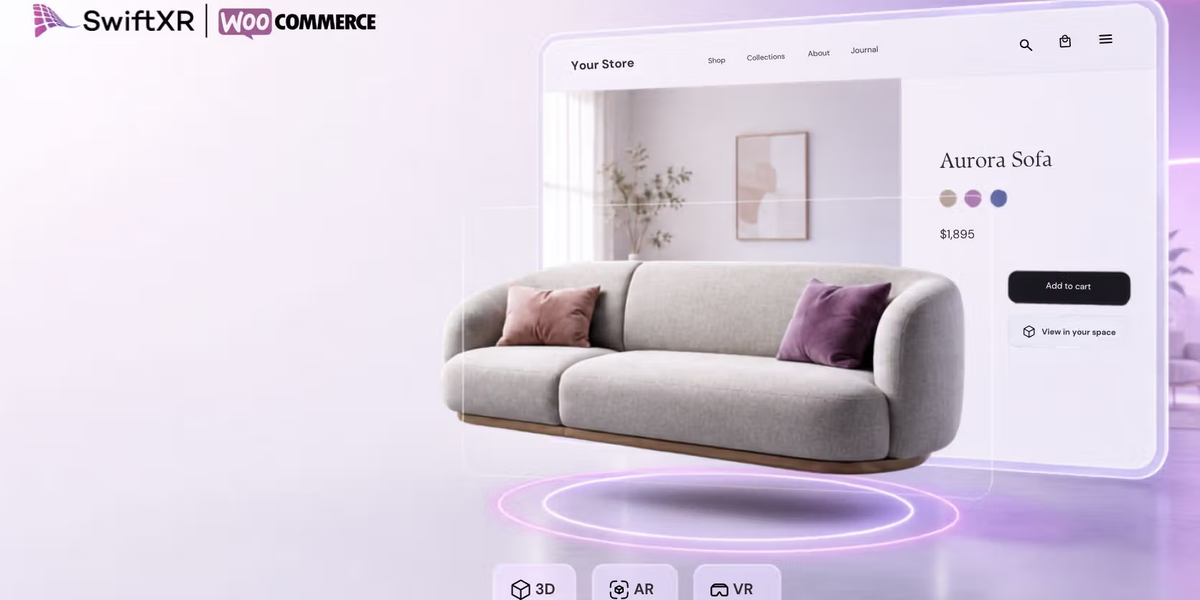
To add a 3D product viewer to WooCommerce reliably, start with one representative product, prepare and approve the correct 3D asset, install the viewer on a staging site, connect the product to the published experience, then test the real product-page template across devices before launch.
The plugin installation is only one step. A dependable rollout also needs product ownership, variation rules, fallback media, performance and accessibility checks, and a clear route for future corrections.
This guide is for ecommerce, catalogue, web, and 3D teams planning a controlled WooCommerce implementation.
1. Define the buyer task and pilot product
Choose the question the viewer should help a buyer answer. A useful task might be inspecting a product from several angles, understanding how a component relates to the whole, comparing approved finishes, or viewing a large item in spatial context on a supported device.
Select one product family that represents the future rollout. The pilot should expose meaningful variation, an important material or detail, the intended product-page template, and at least one realistic update scenario. An unusually simple product may produce a polished demo without testing the operating process the wider catalogue will need.
Record:
- the product and parent SKU;
- the buyer question the experience should answer;
- the approved product revision;
- the WooCommerce product type and variations;
- the destination product-page template;
- the owner of the source asset, web implementation, and publication decision; and
- the acceptance evidence required before launch.
2. Audit the WooCommerce product page before installation
Confirm how the store currently renders its single-product pages. WooCommerce supports both classic templates and block-based product templates, and the current block reference includes Product Image Gallery and Product Gallery components. A viewer that looks correct in one template can behave differently in another because of theme styles, gallery scripts, caching, or custom code.
On a staging copy, document:
- WordPress, WooCommerce, theme, and page-builder versions;
- whether the product uses a classic or block-based template;
- gallery position, aspect ratio, zoom, lightbox, and mobile behaviour;
- variation selectors and any gallery changes triggered by them;
- caching, optimisation, consent, and security plugins; and
- custom template overrides or code that changes the product summary.
Take a baseline before adding 3D. Capture the page on representative mobile and desktop devices, record current loading behaviour, and confirm that product images, variation selection, price, availability, and add-to-cart still work.
3. Prepare an approved web-ready 3D asset
The model must represent the exact product revision being published. Check geometry, scale, orientation, materials, textures, visible components, and any options the buyer can select. If a finish or component is not available for sale, do not show it as a valid choice.
The current SwiftXR WordPress plugin listing states support for GLB, glTF, FBX, OBJ, and STL inputs. The Khronos Group describes glTF as an open format designed for efficient transmission and loading of 3D scenes and models. Format support alone does not make a model ready for a product page. Test the actual output in the destination experience and on the devices the store supports.
Keep an asset record with:
- product identifier and approved revision;
- source files and rights information;
- scale and orientation source;
- approved materials and variants;
- exported asset reference and version;
- fallback image;
- acceptance result; and
- next review date.
Use the web-ready 3D asset guide if the source model still needs preparation.
4. Install SwiftXR on a staging site
Use the current SwiftXR plugin listing on WordPress.org as the installation source. The listing identifies WooCommerce support, direct website embedding, and shortcode use.
In staging:
1. Back up the site through the organisation's approved process. 2. Record the current plugin and theme versions. 3. Install and activate the SwiftXR plugin. 4. Confirm the SwiftXR admin area loads for an authorised role. 5. Check the product page before connecting any project. 6. Review the browser console and server logs for new errors.
Do not make the production site the first compatibility test. Staging gives the web team a controlled place to identify theme, gallery, caching, or permission conflicts before shoppers encounter them.
5. Create and connect the SwiftXR experience
Prepare the approved model in the SwiftXR platform. Set the initial camera, lighting, background, and any approved interaction or hotspot required for the buyer task. Keep essential product facts in the WooCommerce page content as well as the visual experience.
The current SwiftXR WooCommerce solution describes two connection routes: map a WooCommerce product to a published SwiftXR project, or place the experience through the provided block or shortcode route. Choose the route that matches the store template and ownership model.
Record the mapping between:
- WooCommerce product ID and SKU;
- SwiftXR project and published version;
- 3D asset version;
- product-page template;
- fallback image; and
- approver and publication date.
This mapping becomes the correction path if the product, model, or page changes later.
6. Decide how variations should behave
Variation logic needs a product decision before it needs a technical setting. Ask whether the available WooCommerce selections change only text and price, change visible colour or material, or change the product's geometry and components.
For each variation, confirm:
- whether the same 3D experience remains factually accurate;
- whether the visible material and components match the selected option;
- whether unavailable combinations are excluded;
- whether the fallback media changes with the selection; and
- what should happen if no approved 3D asset exists for a variation.
Do not imply that a viewer selection has changed the WooCommerce order unless the integration has been tested to update the actual product option and cart state. Product configuration, visual presentation, pricing, stock, and order data are separate controls until the implementation proves otherwise.
7. Place the viewer without weakening the purchase path
Choose where the viewer appears in relation to the product gallery, title, key specifications, variation controls, price, availability, and add-to-cart action. The 3D experience should support the buyer task without hiding the information needed to make or complete the purchase.
Provide a useful fallback when the interactive route is unavailable. Keep approved product imagery and essential specifications outside the viewer. If AR is part of the experience, describe it as an option for supported devices rather than the only route to product understanding.
Check that the initial state is clear. A shopper should be able to identify the interactive element, understand how to start it, return to other product media, and continue the purchase journey.
8. Test performance, accessibility, and compatibility
Test the published staging page, not only the project inside an editor. Use the same device and network profiles that matter to the store.
Performance
- Compare page loading before and after the viewer is added.
- Check when the viewer and model begin loading.
- Confirm that the fallback remains useful while interactive content loads.
- Test image, script, model, and cache behaviour after a cold load.
- Watch for layout shifts around the gallery or viewer container.
- Check that the rest of the purchase path remains responsive.
Accessibility
W3C guidance requires functionality to be operable through a keyboard interface. Test whether interactive controls can be reached, understood, operated, and exited by keyboard. Check visible focus, accessible names, instructions, contrast, zoom, reduced-motion behaviour where relevant, and a non-interactive route to essential product information.
Do not rely on the visual model to communicate a specification, warning, option, or instruction that is absent from the page text.
Compatibility
- Test current target browsers on mobile and desktop.
- Test touch, mouse, and keyboard input.
- Test logged-out shopping as well as authorised administration.
- Test simple and variable products in scope.
- Test the active theme, page builder, and product template.
- Test caching, consent, security, and optimisation settings.
- Test add-to-cart, cart updates, and checkout after interacting with the viewer.
9. Run a controlled launch
Publish the pilot only after product truth, viewer behaviour, fallback media, purchase flow, and ownership all pass. Keep the first release small enough that the team can observe issues and correct the mapping without searching across a large catalogue.
Track implementation evidence rather than assuming a business outcome. Useful operational measures include viewer availability, load failures, interaction starts, device issues, support requests, product corrections, and time required to prepare and approve the next item. Any commercial measure should use the store's own analytics plan and an agreed comparison method.
After the pilot, decide whether to expand, revise the acceptance criteria, hold certain products, or retain static media where 3D does not add enough buyer value.
WooCommerce 3D viewer launch checklist
Before launch, confirm that:
- the pilot has a defined buyer task and owner;
- the model matches the approved product revision;
- rights, formats, scale, materials, and variations are recorded;
- the SwiftXR project maps to the correct WooCommerce product;
- the active product template and gallery still work;
- visible options match sellable options;
- fallback images and essential text remain available;
- mobile, desktop, touch, mouse, and keyboard checks pass;
- page performance and layout have been compared with the baseline;
- add-to-cart and checkout still work after viewer interaction; and
- the team can identify and correct the published asset later.
The practical next step is one representative product on staging. Review the current SwiftXR WooCommerce solution and book a SwiftXR demo to define the asset, mapping, template, and acceptance plan for that pilot.
Questions? Book a call or join the community on Discord.