Blog
October 5, 2026
·8 min readHow to Add Face-Tracking Virtual Try-On to an Ecommerce Website

Otuokon Nsikak
A product photo can show the item; it cannot answer the question that stops many face-worn purchases:
How will this look on me?
That is the job of face-tracking virtual try-on.
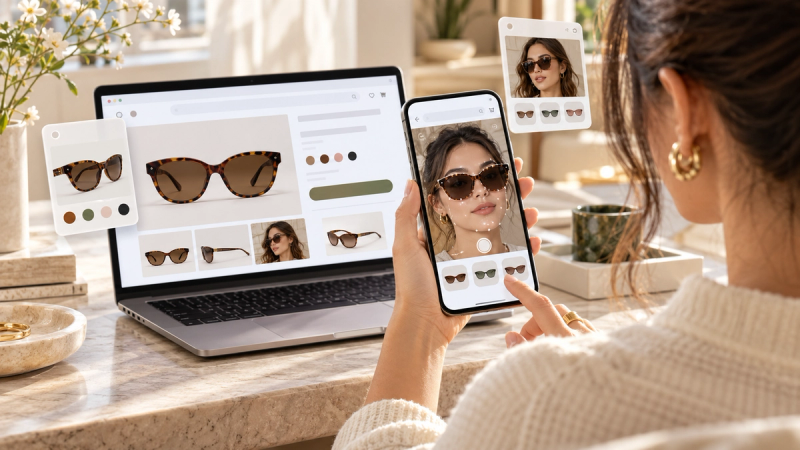
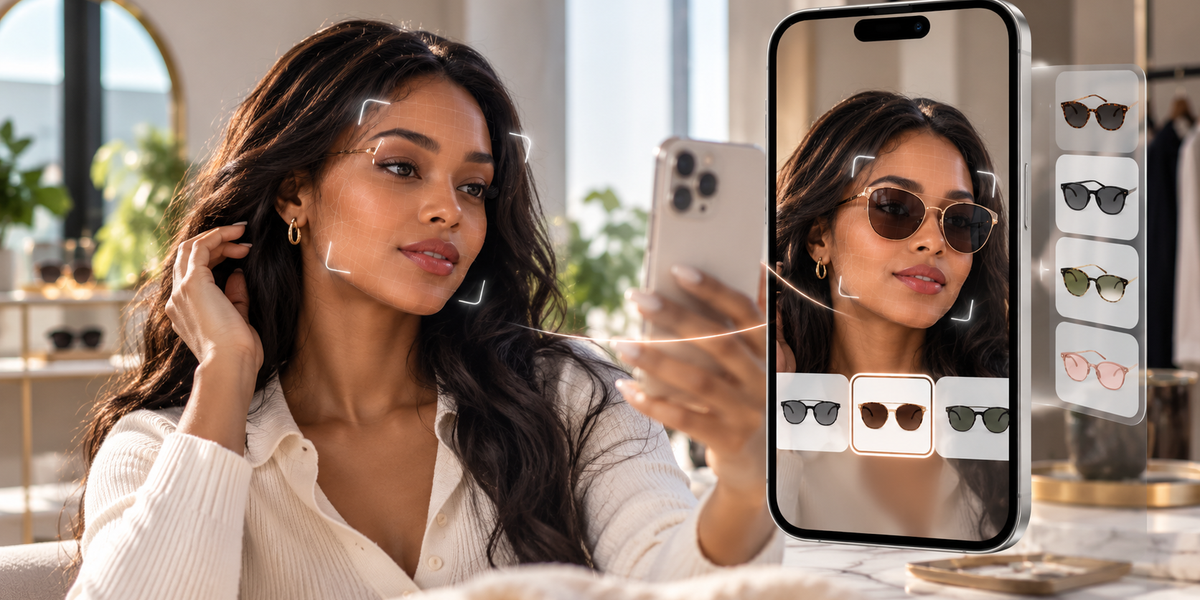
When it works well, a shopper opens the product page, launches the experience in the browser, and sees the product follow their face in real time. No separate app. No trip to a fitting room. Just a clearer answer before they decide.
This guide shows how to add that experience to an ecommerce website without turning the project into a custom development build.
What face-tracking virtual try-on actually does
Face tracking detects landmarks and movement on a shopper’s face so a digital product can stay aligned as they move.
In ecommerce, that usually powers virtual try-on for:
- eyewear
- jewellery
- beauty and cosmetics
- headwear
- other face-worn accessories
The important distinction:
Face tracking helps place a product relative to the face.
Facial recognition aims to identify who the person is.
Those are not the same thing. Shoppers care about the difference, and so should your product page copy and privacy language.
Why this belongs on the product page
If try-on lives in another app, another tab, or a disconnected experience, most people will not complete it.
The strongest setup keeps the journey on the page:
Shopper views the product
Shopper launches try-on
Shopper sees the product on their face
Shopper continues toward cart or checkout
Anything that breaks that sequence adds friction.
Browser-based delivery matters because it removes the install step. The camera answers one question: will this suit me?
What you need before you start
- An e-commerce store on a platform such as Shopify, WooCommerce, Wix, or a site that can embed experiences
- Products where appearance on the face affects the buying decision
- Product assets prepared for try-on, often 3D models or approved digital product representations
- Clear rules for which products and variants are included
- A SwiftXR account for building and publishing the experience
Do not start with the full catalogue. Start with the products where hesitation is already high.
Step 1: Choose the right first products
Face tracking is most useful when the product’s value depends on how it sits on a face.
Strong first candidates
- frames and sunglasses
- earrings
- necklaces and face-adjacent jewellery
- selected beauty products
- hats or headwear where style depends on placement
Weaker first candidates
- products with no clear face relationship
- items where size and body fit matter more than facial appearance
- SKUs with weak or incomplete digital assets
Pick 5 to 10 high-doubt products. Prove the journey. Then expand.
Step 2: Prepare the product assets
The experience is only as clear as the assets behind it.
Check:
- the product is represented accurately enough for try-on
- variants such as colour or finish can be reflected
- scale is handled carefully so the preview does not mislead
- materials read clearly on mobile screens
- naming is consistent with the store’s product options
If the digital product and the store variant do not match, shoppers lose trust quickly.
Step 3: Build the try-on experience in SwiftXR
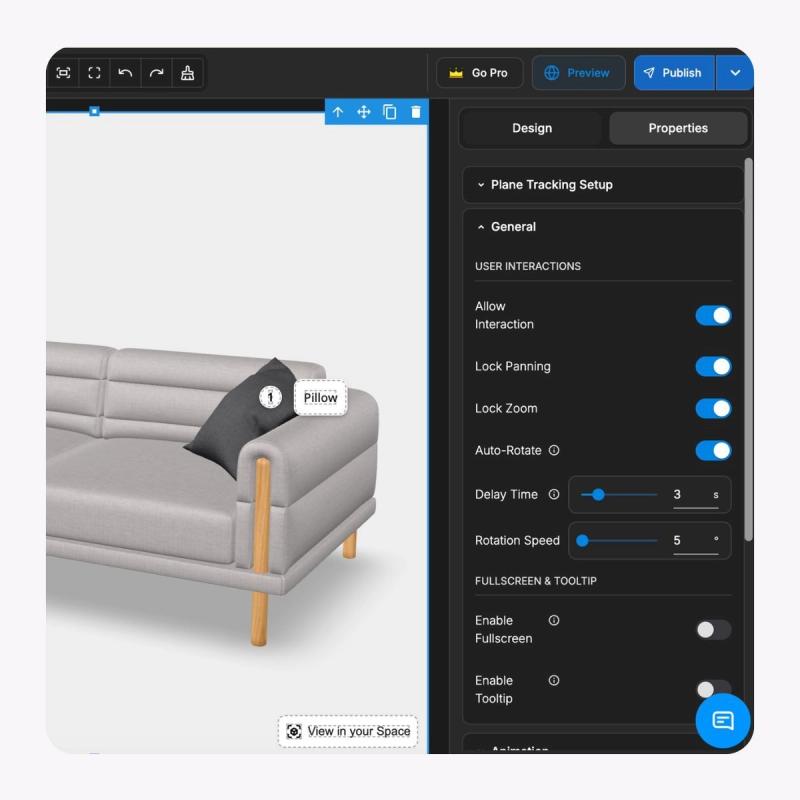
In SwiftXR, face tracking is available as part of the no-code experience workflow for virtual try-on use cases such as jewellery, accessories, and related face-worn products.
A practical setup path:
Create a project
Select the face-tracking or virtual try-on path relevant to the product
Upload or attach the product asset
Configure placement, presentation, and variant behaviour
Test how the product follows head movement
Publish the experience
The goal is simple: when the shopper moves, the product should stay believable on the face.
Step 4: Place it on the ecommerce product page
Publish the experience, then connect it to the product page.
Depending on your store setup, that may mean:
- installing the relevant SwiftXR app or plugin
- mapping the published experience to the product
- embedding the experience in the product layout
- making sure the try-on control is visible without burying it
Keep add-to-cart, price, and variant selectors easy to reach. Try-on should support the decision, not interrupt the purchase path.
Step 5: Align variants with the live experience
If the shopper selects a gold frame, a silver earring, or a darker finish, the try-on should reflect that choice.
Check:
- default state matches the default product selection
- switching variants updates the preview
- unavailable combinations are not offered
- mobile behaviour remains stable
A beautiful try-on that disagrees with the selected variant creates more doubt, not less.
Step 6: Test the complete mobile journey
Most of this will happen on phones. Test like a real shopper.
On a real device, confirm:
- the product page loads cleanly
- the try-on control is obvious
- camera permission is requested clearly
- the experience launches without an app download
- the product tracks face movement well enough to be useful
- the shopper can exit and continue to cart
- the page still feels fast after the experience
Also test weaker conditions:
- average indoor lighting
- slightly older phones
- one-handed use
- interrupted camera permission
If completion fails on mobile, the feature is not ready for scale.
Step 7: Measure the pilot before expanding
Do not judge success by whether the feature looks modern.
Track:
- try-on opens
- camera-permission acceptance
- experience completion
- variant interactions during try-on
- product-page dwell time
- add-to-cart progression after try-on
- conversion on pilot products versus comparable products
- device-specific failures
A focused pilot gives clearer answers than a full-catalogue launch.
Privacy language that protects trust
Shoppers are right to ask what happens to their face data.
Be precise.
Useful principles:
- explain why the camera is needed
- separate face tracking from facial recognition in plain language
- only claim local processing, non-storage, or no upload if your implementation has been verified
- give a clear way to leave the experience
- keep privacy wording consistent across the product page, policy, and support answers
If you cannot verify a claim, do not publish it.
Common mistakes to avoid
Launching every SKU at once
Start where appearance creates real hesitation.
Forcing an app download
Extra installs kill completion.
Hiding try-on below the fold
If shoppers never see it, it cannot help.
Overclaiming accuracy
Preview and confidence are safer promises than perfect fit guarantees.
Ignoring lighting and device limits
Real phones and real rooms are the test environment.
Skipping variant alignment
The selected product and the on-face preview must agree.
Where SwiftXR fits
SwiftXR is built for teams that want interactive product experiences on the website itself.
For face-tracking virtual try-on, that means:
- browser-based experiences without requiring a shopper-facing app
- no-code setup for product teams
- support for virtual try-on and face-tracking workflows for jewellery, accessories, and related categories
- publishing onto ecommerce product pages
- a path to measure engagement rather than guessing
SwiftXR does not replace your merchandising judgment. It gives shoppers a clearer way to preview face-worn products before they buy.
A practical launch path
Choose 5 to 10 high-doubt face-worn products
Prepare clean product assets and variant rules
Build and publish the try-on experience in SwiftXR
Place it on the product page
Test the full mobile journey
Measure opens, completion, and cart progression
Improve friction points
Expand only after the pilot earns the next set of products
That is how you add face-tracking virtual try-on to an ecommerce website without wasting the launch on the whole catalogue first.
Explore virtual try-on with SwiftXR →
Start free →
Frequently Asked Questions
What is face tracking in ecommerce?
It is the technology that helps a digital product stay aligned to a shopper’s face so they can preview how eyewear, jewellery, or similar products look on them.
Is face tracking the same as facial recognition?
No. Face tracking supports product placement and movement. Facial recognition aims to identify a person. Ecommerce try-on should be explained in tracking terms, not identity terms.
Can virtual try-on work without an app?
Yes. Browser-based experiences can run from the product page on supported devices without requiring a separate download.
Which products benefit most?
Products whose buying decision depends on facial appearance, especially eyewear, jewellery, and selected beauty or headwear items.
Do I need a developer to launch this?
For a standard setup, no. You still need product assets and clear variant logic, but the experience can be created and published without a custom WebXR build.
Should every product get face-tracking try-on?
No. Start with the products where shoppers already hesitate on appearance. Expand after the pilot shows completion and commercial value.
How should we measure success?
Look at opens, completion, cart progression, conversion on pilot products, and where the mobile journey breaks. Visual novelty alone is not enough.