
Blog
August 7, 2026
·8 min readHow to Add a 3D Model to a Website: A B2B Launch Checklist

Otuokon Nsikak
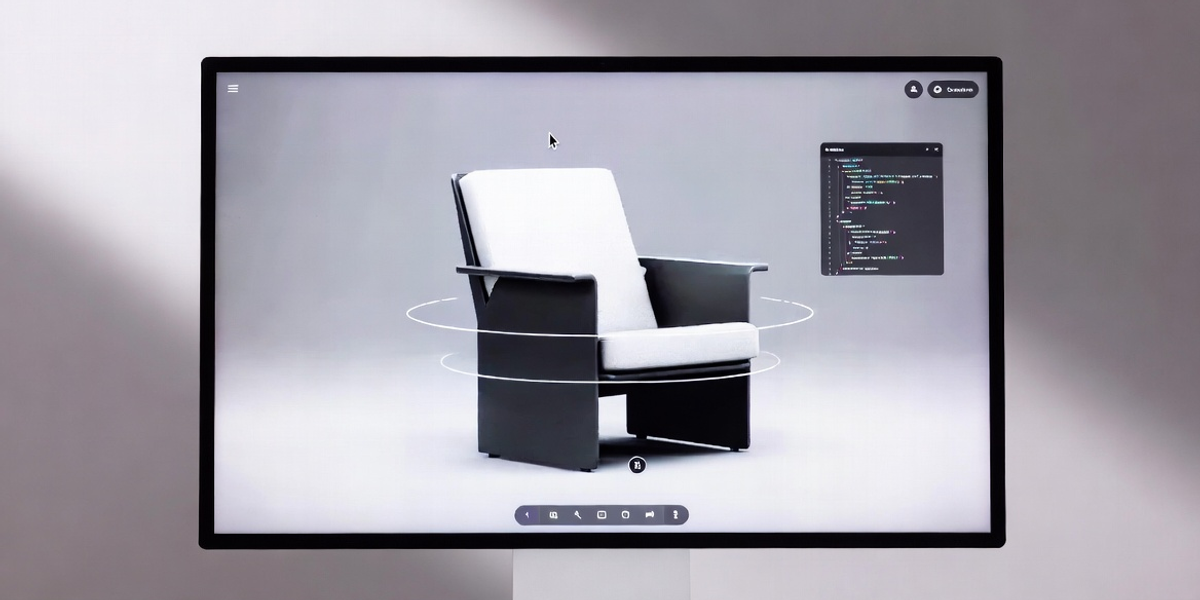
To add a 3D model to a website responsibly, prepare an approved web-ready asset, choose a delivery method, place the viewer where it supports a buyer task, provide useful fallback content, and test the experience across devices before launch. The technical embed is only one part of the work. Product accuracy, page performance, accessibility, analytics, and update ownership determine whether the viewer can support a real product journey.
Most teams choose one of three delivery routes: a managed embed, a self-hosted web component, or a custom viewer. The right route depends on the control your team needs, the skills it can maintain, and the experience the buyer must complete.
Start with the buyer task, not the 3D file
Define what the model needs to help someone understand. A buyer may need to inspect a product from several angles, understand scale, compare approved finishes, review a technical assembly, or see whether an item fits a space. Each task produces a different implementation brief.
Write down:
- The buyer role and the decision the page supports.
- The exact product revision, option, and material state that must appear.
- The page where the viewer belongs and the information that must remain visible around it.
- The interactions that matter, such as rotate, zoom, hotspots, configuration, or AR.
- The devices, browsers, network conditions, and assistive technologies in the test scope.
- The team that owns product approval, page release, analytics, and later updates.
This prevents a common project failure: shipping a technically functional viewer without knowing what it needs to prove.
Choose the right implementation route
There is no single correct way to display a 3D model on a website. Compare the full operating model, not only the first embed step.
Managed embed
A managed platform hosts the viewer experience and provides a link or embed snippet for the website. This route suits teams that want product, ecommerce, or marketing users to prepare and publish experiences without maintaining a custom rendering stack.
With the SwiftXR 3D Model Viewer, a team can prepare a product model, configure presentation details, share a browser link, or add the approved experience to a website. AR can be offered on supported devices when spatial context helps the buyer. The SwiftXR platform also provides a browser editor and experience analytics.
Evaluate a managed embed against your requirements for branding, interaction controls, data handling, responsive behaviour, analytics, update workflow, and content ownership. Test the actual page rather than assuming the hosted example represents your implementation.
Self-hosted web component
A web component can suit a development team that wants to host the model and control the page integration directly. Google documents the `<model-viewer>` component as a declarative way to add a 3D model to a web page. Its guidance covers responsive presentation, controls, poster images, and AR on some devices.
This route still needs asset hosting, component updates, browser testing, accessibility review, monitoring, and an owner for future changes. It reduces some specialist rendering work, but it does not remove web delivery responsibilities.
Custom viewer
A custom viewer is appropriate when the product experience requires interactions, data connections, visual behaviour, or governance that a managed embed or component cannot support. It gives the engineering team more control and more responsibility.
Budget for rendering expertise, asset delivery, input handling, responsive behaviour, accessibility, browser support, analytics, security review, and ongoing maintenance. Confirm that the required differentiation justifies that operating burden before committing to custom development.
Prepare an approved web-ready model
A model that opens in desktop software is not automatically suitable for a product page. The web asset needs to be accurate enough for the buyer task and practical enough for the delivery route.
Start with a source record that identifies the product, revision, dimensions, materials, textures, animations, and approved options. Then define acceptance criteria for geometry, visible details, scale, orientation, naming, and file delivery. The Khronos Group positions glTF as a format for runtime 3D asset delivery, but the file format alone does not prove product accuracy.
Use the web-ready 3D product modelling guide to brief asset preparation before the website work begins. For every final model, record the source, approval owner, accepted limitations, and date of validation.
Do not hide unresolved product questions inside the 3D team. If a material, component, or option rule is uncertain, resolve it with the product owner before launch.
Design the viewer as part of the page
The viewer should support the page hierarchy, not replace it. Keep the product name, key specifications, options, delivery information, and next step available in ordinary page content. A buyer should not need to manipulate the model to discover a critical specification.
Decide:
- Whether the viewer loads immediately or after a deliberate buyer action.
- Which still image or poster appears before the interactive model is ready.
- The initial camera angle and the product details visible without interaction.
- The space the viewer receives at desktop, tablet, and mobile widths.
- How instructions explain rotate, zoom, hotspots, configuration, or AR.
- What happens when the model or viewer cannot load.
Google's `<model-viewer>` guidance describes poster images as a way to show a visual while a model loads. A managed or custom route should solve the same buyer need, even if the implementation differs.
Define accessibility and fallback before launch
Interactive 3D is non-text content and often includes pointer-driven controls. Treat accessibility as a release requirement from the beginning. WCAG 2.2 provides current testable criteria covering areas such as text alternatives, keyboard access, focus, pointer gestures, and labels.
For the page implementation:
- Provide a concise text description of what the model shows and why it is useful.
- Keep essential specifications and option information available outside the viewer.
- Confirm that interactive controls can be reached, understood, and operated in the supported accessibility path.
- Check focus order, visible focus, labels, instructions, and escape behaviour.
- Provide a useful still image or other fallback when interactive 3D is unavailable.
- Avoid motion that starts without a clear reason or cannot be controlled.
Do not claim accessibility conformance from an automated scan alone. Combine automated checks with keyboard, screen reader, zoom, contrast, and human usability testing appropriate to your release scope.
Test performance on the real product page
The same model can behave differently when it shares a page with product images, reviews, personalisation, analytics, consent tools, and commerce scripts. Test the integrated page on representative devices and networks.
Measure the page before and after adding 3D. Review loading behaviour, layout stability, responsiveness, interaction readiness, memory use, and failure handling. Web Vitals can contribute to a shared performance review, but your release criteria should also reflect the buyer task and the devices your audience uses.
If the viewer creates an unacceptable page cost, consider a poster-first load, a deliberate launch control, a lighter approved asset, or a different page placement. Do not solve a performance problem by removing the product detail the buyer needs.
Instrument the buyer journey
Define the questions analytics should answer before selecting events. Useful questions may include:
- Did the viewer load successfully?
- Did the buyer start interacting with the model?
- Which controls or hotspots were used?
- Was AR offered and launched on a supported device?
- Did the buyer continue to a specification, enquiry, sample, quote, or purchase step?
- Where did the experience fail or fall back to static content?
Interaction data shows behaviour, not intent by itself. Review it alongside page context, qualitative feedback, sales questions, and technical logs. SwiftXR experience analytics can provide viewer interaction evidence for SwiftXR projects, while the wider website analytics plan should connect that evidence to the business journey responsibly.
Run a controlled release
Start with a representative product rather than the easiest asset in the catalogue. Include a material, detail, option, or device condition that reflects the wider rollout.
Before release, confirm:
- The model matches the approved product revision.
- Materials, scale, orientation, and option rules have named owners.
- The delivery route matches the team's control and maintenance needs.
- The viewer supports a written buyer task.
- Essential product information remains available outside the 3D experience.
- Responsive, keyboard, focus, fallback, loading, and error behaviour have been tested.
- Analytics events have defined questions and owners.
- The release record identifies the model, page, viewer configuration, and approval date.
- A change process exists for product updates, discontinued options, and replacement assets.
Record exceptions openly. A pilot is valuable when it reveals that a reflective material, complex assembly, mobile device, or page template needs a different approach.
Where SwiftXR fits
SwiftXR supports a managed route for teams that want to prepare, share, and embed 3D product experiences without building a viewer from the ground up. The visual editor can be used to set presentation details, and the approved experience can be shared through a browser link or website embed. AR paths can be added where supported and useful.
The Plugins and Embeds page shows the available website delivery context. The implementation still needs a verified product model, clear buyer task, page-level fallback, accessibility review, performance testing, and change ownership.
If you have a representative product page and an approved model, book a SwiftXR demo to review the delivery route, page requirements, and launch checklist with the team.