Blog
July 31, 2026
·7 min readAugmented Reality Packaging: A Practical Campaign Checklist

Otuokon Nsikak
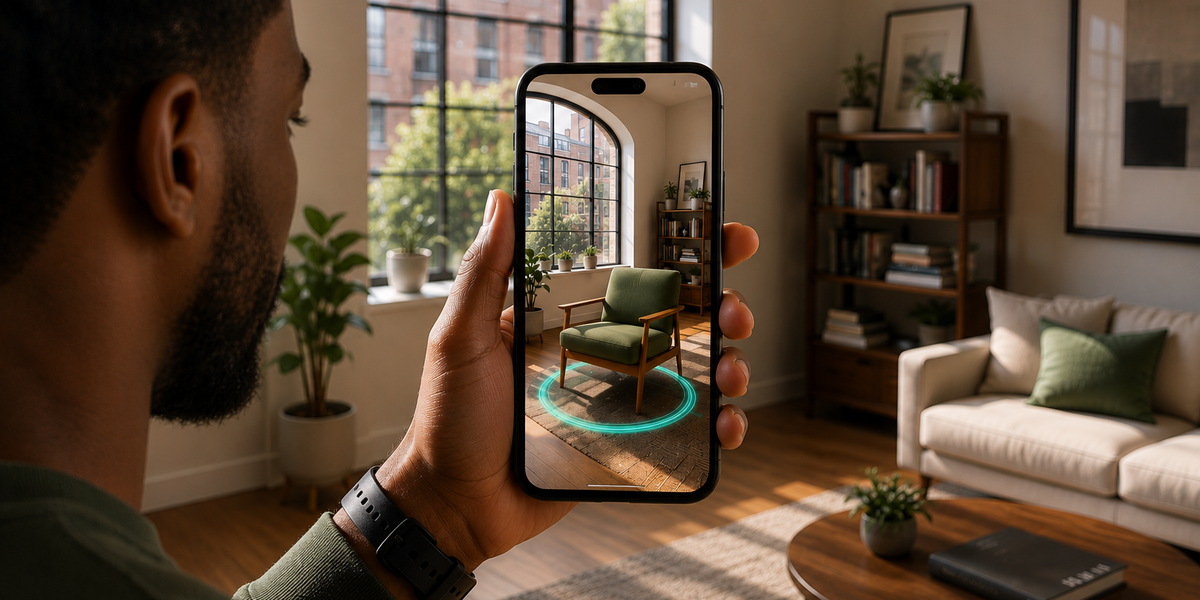
Augmented reality packaging connects a physical pack to a digital experience that opens on a customer's phone. For brand teams, the work is not just creating an AR scene. It is choosing a useful post-scan action, preparing accurate content, designing a reliable entry point, testing the printed pack and web experience together, and assigning ownership after launch.
This checklist is for brand marketing directors, packaging managers, ecommerce leads, and implementation partners planning a campaign that links a package to a browser-based AR experience.
What is augmented reality packaging?
Augmented reality packaging uses a printed entry point, commonly a QR code or short web address, to open digital content connected to the product. The experience can place 3D content in the customer's environment, add interactive product information, explain assembly or use, or direct the customer to a relevant next step.
The physical pack and the digital experience are one customer journey. A strong AR scene cannot rescue a code that is hard to scan. A reliable code cannot rescue content that gives the customer no reason to continue.
1. Start with one business job
Define the job before selecting creative treatments or technology.
Useful campaign jobs may include:
- Helping a buyer understand product scale or use
- Explaining setup, care, or assembly after purchase
- Showing a controlled set of product options
- Connecting a retail pack to additional product information
- Moving an interested customer to a product page, support resource, or contact route
Write the job as a simple decision statement: after scanning, the customer should be able to understand or do one specific thing.
This keeps the project measurable and gives creative, packaging, product, legal, and web teams a shared definition of success. It also reduces the risk of building an impressive interaction that is detached from a real customer need.
2. Define the post-scan journey
Map the steps from seeing the pack to completing the intended action.
At minimum, decide:
- Why the customer should scan
- What opens first
- Whether camera permission is needed
- What the customer can do without granting camera access
- Which product, market, or language the experience covers
- What the primary call to action is
- Where the customer goes if AR is unavailable
Keep the first screen focused. Explain what will happen before asking for camera access, then give the customer an obvious way to continue or leave.
If the experience supports several products, markets, or campaign versions, define the routing logic before production. The link printed on a package may remain in circulation long after the initial launch, so it should lead to a destination the team can maintain.
3. Treat the printed entry point as part of the product
The QR code, label, callout, and surrounding artwork all affect whether the journey starts reliably.
Package design and production teams should review:
- Contrast around the code
- Clear space around the code
- Final printed size and surface
- Curves, folds, seams, glare, and material finish
- Expected viewing distance and lighting
- A short instruction that sets the right expectation
- A readable web address as a fallback
Test the code from a production sample, not only from an artwork file or office printout. GS1's current 2D barcode guidance recommends assessing the complete printed symbol and scanning conditions. The right print specification depends on the pack, print process, placement, and intended scanner, so the production team should approve the final setup.
4. Build the experience around product truth
Every visual and statement should match the approved product information for the market in which the pack will appear.
Create a controlled source set that includes:
- Approved product dimensions and 3D assets
- Current instructions and safety information
- Approved product names, finishes, and variants
- Market and language coverage
- Image, music, model, and asset rights
- A named source owner for future changes
Avoid putting information into the experience simply because the format makes it possible. Prices, availability, promotions, product claims, and compatibility details can change while packaging remains in circulation. If the experience needs volatile information, load it from a maintained source and define what happens when the information expires.
For 3D or AR content, test product scale, orientation, materials, lighting, and interaction on representative devices. The digital product should help the customer understand the real item, not create a misleading impression.
5. Set ownership before launch
An AR packaging campaign crosses several teams. Assign one accountable owner for the live journey and document who approves each component.
A practical responsibility map covers:
- Brand: customer promise, creative direction, and campaign approval
- Packaging: artwork, print specification, placement, and production proof
- Product: dimensions, variants, instructions, and product accuracy
- Web or ecommerce: destination, redirects, analytics, and fallback page
- Legal and privacy: rights, consent language, market requirements, and data use
- Support: customer questions and escalation route
- AR production: asset preparation, scene behaviour, device testing, and release record
Also define the maintenance period, review dates, and end-of-campaign destination. Never leave a printed link dependent on an unowned page or temporary project account.
6. Test the package and experience together
Run an end-to-end test using a representative production sample and the release candidate.
Include:
- Different supported phones, browsers, and operating systems
- Mobile data and slower network conditions
- Bright, dim, and reflective environments
- Scan attempts from realistic angles and distances
- Camera permission accepted and declined
- Correct product scale and placement
- Rotation, hotspots, animation, and other expected interactions
- Links, analytics events, and the primary call to action
- Language and market routing
- Accessible fallback content
- The experience after a redirect or content update
Record the package version, code destination, content version, device, browser, date, and result. A repeatable test record is more useful than an informal approval because it connects the printed item to the exact digital release.
7. Plan accessibility and privacy
AR should add value without becoming the only route to essential information.
Provide a conventional web route that communicates the core content without requiring camera access. Add descriptive text alternatives for meaningful images and non-text content, captions or transcripts for relevant media, clear labels, and a keyboard-usable destination where applicable. W3C's WCAG 2.2 is the primary standard to use when setting web accessibility requirements.
Explain why camera access is requested and collect only the data needed for the stated purpose. Analytics, consent, retention, and market requirements should be reviewed by the appropriate privacy and legal owners before launch.
8. Choose useful measures
Measurement should follow the business job defined at the start.
Depending on the journey, the team may track:
- Successful experience starts
- Load or launch completion
- Completion of a useful interaction
- Progress to the intended product, support, or contact page
- Error and fallback use
- Support issues linked to the package journey
Define event names, ownership, reporting cadence, and the decision each measure will support. Treat scan counts as an entry signal, not a complete account of customer value. Do not infer purchase impact unless the data and attribution design support that conclusion.
Augmented reality packaging launch checklist
Before approving production and launch, confirm:
- The campaign has one clear customer and business job.
- The post-scan journey and primary action are documented.
- The code and instruction are tested on a production sample.
- A readable web fallback is available.
- Product visuals, dimensions, and statements match approved sources.
- Asset and media rights are recorded.
- Camera, analytics, accessibility, and privacy requirements are approved.
- Representative devices, networks, lighting, and permission paths are tested.
- The package, destination, and content versions are connected in a release record.
- A live owner, review date, and end-of-campaign destination are assigned.
Where SwiftXR fits
SwiftXR provides a web-based editor for creating and publishing interactive 3D and AR experiences without code. Teams can prepare scene lighting, camera angles, hotspots, and AR scale, then share the experience through a web link or embed it in a site. SwiftXR's current site also documents packaging as a product application.
For a packaging campaign, that means the AR experience can sit inside a controlled web journey while the team keeps the printed entry point, product source data, testing, accessibility, and campaign ownership in the wider operating plan.
Explore the SwiftXR platform to plan a browser-based AR experience for your next packaging campaign.