
Blog
September 2, 2026
·9 min readHow to Add a 3D Model, AR or VR to Squarespace with SwiftXR

Otuokon Nsikak
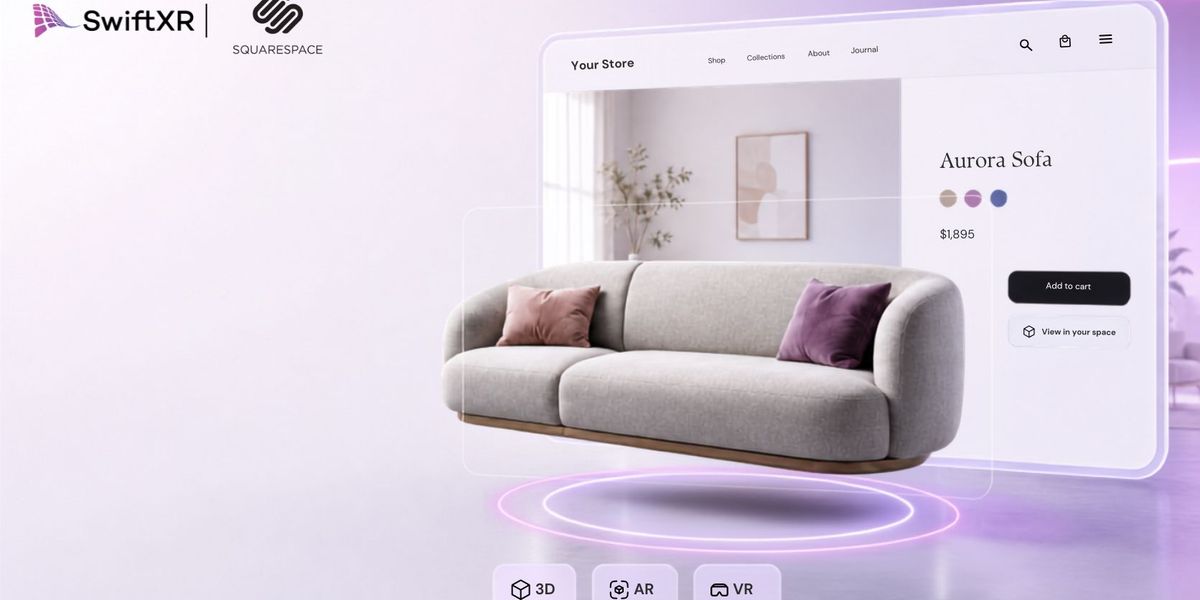
A beautiful product page can still leave a buyer uncertain.
The chair looks good, but how large will it feel in the room?
The sculpture is striking, but what does it look like from behind?
The showroom photographs are polished, but what would it feel like to walk through the space?
These are questions a flat image cannot always answer.
With SwiftXR, you can add an interactive 3D model, augmented reality product preview or virtual reality experience to Squarespace without building a custom website or writing the embed code yourself.
You create and publish the experience in SwiftXR, copy the generated HTML and paste it into a Squarespace Embed block.
That is the entire connection.
This guide shows you how to do it, step by step.
Can you add a 3D model to Squarespace?
Yes.
To add a 3D model to Squarespace:
Create a project in the SwiftXR Hub.
Build and publish your 3D, AR or VR experience.
Open the SwiftXR sharing options.
Copy the project’s embed code.
Add an Embed block to your Squarespace page.
Open Code Snippet and select Embed Data.
Paste the SwiftXR HTML code.
Save and publish the page.
The 3D experience is hosted and managed through SwiftXR. Squarespace displays it on your website through the embed.
What can you add to Squarespace with SwiftXR?
SwiftXR can be used to place different immersive experiences on a Squarespace website.
These include:
- A 3D product viewer that visitors can rotate and zoom
- A WebAR product preview that places a product in the customer’s space
- A Web VR experience for immersive digital environments
- A virtual showroom for products, properties or exhibitions
- A virtual tour built from 360° content
- Interactive 3D content for portfolios, landing pages and case studies
The experience can appear on a Squarespace product page, homepage, portfolio, landing page or any other page where you can add an Embed block.
SwiftXR supports this workflow on Squarespace 7.0 and 7.1.
What you need before starting
You will need:
- A SwiftXR account
- Access to your Squarespace website editor
- A 3D model, 360° content or existing SwiftXR project
- A desktop or laptop for setting up the embed
- A mobile device for testing AR
SwiftXR supports common 3D formats, including GLB, GLTF, FBX, OBJ, STL and USDZ. You can also generate a model from a photograph or build an immersive tour using 360° images.
Use an optimized model wherever possible. Heavy geometry and oversized textures can make an experience slower to load, particularly on mobile connections.
Step 1: Create a project in the SwiftXR Hub
Go to the SwiftXR Hub and sign in to your account.
Inside the Hub, click Create Project.
Enter a name that makes the project easy to identify. If you are creating experiences for several products, use a clear naming structure such as:
- Orb Fire Pit – Black
- Lounge Chair – Natural Oak
- Abuja Showroom Tour
- Apartment Type A – Virtual Walkthrough
Clear project names become important when you are managing several Squarespace product pages. After naming the project, click Create to open the SwiftXR editor.
Step 2: Build the 3D, AR or VR experience
Use the SwiftXR editor to build the experience you want visitors to see.
Depending on the project, you can add and customize:
- A 3D model viewer
- An AR-enabled product
- Multiple objects and interactive components
- A virtual room or showroom
- A VR experience
- A tour created from 360° images
Set the camera, lighting, scale and first viewing angle carefully.
The first frame should communicate the product immediately. A shopper should not have to rotate the model before understanding what they are looking at.
If the project includes AR, confirm that the product’s real-world scale is correct. A beautifully rendered chair that appears the size of a coffee mug will not build confidence.
Step 3: Publish the SwiftXR project
When the experience is ready, click Publish.
If the project has already been published and you are making changes, the button may appear as Update instead.
Publishing makes the project live and prepares it for sharing and embedding.
Preview the project before moving to Squarespace.
Check that:
- The model loads correctly
- The opening camera angle is strong
- Materials and textures appear properly
- Rotate and zoom controls work
- The background supports the product
- AR is enabled if required
- The experience responds correctly on mobile
Do this inside SwiftXR first. Squarespace will display the published experience, but it will not correct the model, lighting or camera setup for you.
Step 4: Copy the SwiftXR embed code
After publishing, click the dropdown arrow beside the Update button.
Select Share.
Inside the Share window, open the embed option and click Copy or Copy Embed.
SwiftXR will copy the complete HTML embed code to your clipboard.
You do not need to edit or rewrite this code.
The embed contains the information Squarespace needs to load the correct SwiftXR project. Copy the complete snippet rather than copying only the project URL.
Step 5: Open the Squarespace page
Sign in to Squarespace and open the page where you want the SwiftXR experience to appear.
Click Edit.
Move your cursor over the section where the viewer should be placed and click Add Block.
Choose the location deliberately.
For ecommerce product pages, the viewer should sit close to the main product image, product information or Add to Cart section. Do not bury it beneath several paragraphs of copy where shoppers may never discover it.
For portfolios and virtual showrooms, give the experience enough width and height to feel immersive.
Step 6: Select the Squarespace Embed block
From the Squarespace block menu, select Embed.
Do not choose Image, Video or Markdown. The SwiftXR project is an interactive iframe and should be placed inside the Embed block used in the official integration workflow.
Squarespace’s Embed block can accept a supported URL or manually entered embed code. For SwiftXR, you will use the manually entered code.
Step 7: Paste the SwiftXR HTML into Embed Data
Open the new Embed block.
Select Code Snippet, followed by Embed Data.
Paste the complete HTML code copied from SwiftXR into the field.
The SwiftXR project should begin appearing inside the Squarespace editor once the embed data is accepted.
Apply the changes and resize the block if necessary.
Give the viewer enough vertical space so the product, controls and View in your Space button are not cropped.
Step 8: Save and publish the Squarespace page
Click Save in the Squarespace editor.
Publish the page or website if it is not already live.
Then open the live URL outside the editor.
Test the experience on:
- Desktop
- Tablet
- iPhone
- Android
- A normal mobile connection
Confirm that visitors can rotate the model, zoom in, enter fullscreen mode and launch AR or VR where supported.
Do not rely only on the Squarespace editing screen. Embedded content may behave differently on the published page.
Why use SwiftXR with Squarespace?
Squarespace handles the website.
SwiftXR handles the immersive experience.
That separation means you do not have to turn Squarespace into a custom 3D engine or ask a developer to build a viewer from the ground up.
With SwiftXR, you can:
- Create interactive 3D experiences without writing WebGL
- Add AR product previews to Squarespace
- Publish Web VR showrooms and virtual tours
- Manage the immersive project through the SwiftXR editor
- Copy a ready-made HTML embed
- Place the experience inside an existing Squarespace design
Your Squarespace layout remains intact. SwiftXR gives the page another dimension.
Frequently asked questions
Can I add a 3D model to Squarespace?
Yes. Create and publish the model as a SwiftXR project, copy the HTML embed and paste it into Add Block → Embed → Code Snippet → Embed Data in Squarespace.
Do I need to know how to code?
No. SwiftXR generates the HTML embed code for you. You only need to copy and paste it into Squarespace.
Do I use a Code block or Embed block?
The official SwiftXR Squarespace integration guide uses the Squarespace Embed block. Inside the block, select Code Snippet and then Embed Data before pasting the SwiftXR HTML.
Can I add augmented reality to a Squarespace store?
Yes. Enable AR in the SwiftXR project and embed the published project on the relevant Squarespace product page. Customers on supported mobile devices can use the View in your Space option.
Can I add virtual reality to Squarespace?
Yes. A published SwiftXR VR experience can be embedded on a Squarespace page using the same integration process.
Can I embed a virtual showroom?
Yes. Build and publish the showroom in SwiftXR, copy its embed code and place it inside a Squarespace Embed block.
Will it work on mobile?
SwiftXR projects are designed for web and mobile viewing. Test the final experience on the iOS and Android devices that matter most to your audience, especially if the project includes AR.
Which 3D file formats can I use?
SwiftXR supports common formats including GLB, GLTF, FBX, OBJ, STL and USDZ. Optimized models will generally provide a smoother mobile experience.
A product should not have to remain a photograph
A photograph shows the product from the angle the brand chooses.
An interactive experience hands that choice to the customer.
They can turn it around. Move closer. Inspect the details. Place it in their room. Step inside the showroom.
That is when a product stops feeling like an image on a page and starts feeling like something the customer can understand.
Create the experience in SwiftXR.
Copy the embed.
Place it on Squarespace.
Start free with SwiftXR and bring interactive 3D, augmented reality and virtual reality to your Squarespace website.