January 28, 2026
How Interactive Visual Guides Reduce Mistakes and Speed Up Training
Chidinma Uzor
Author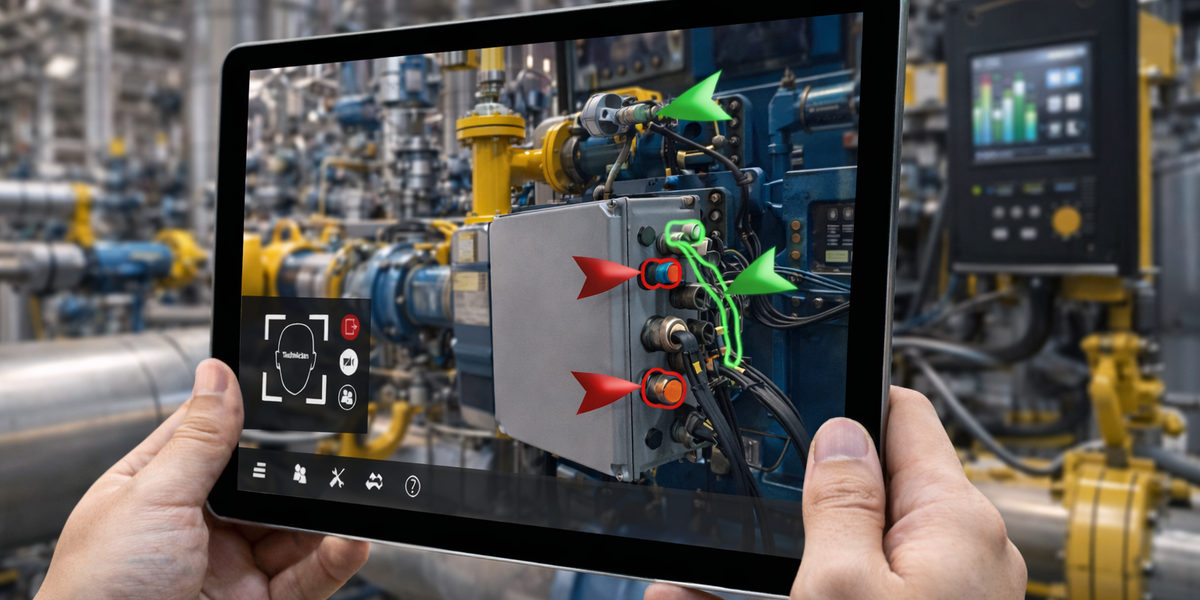
Training usually breaks down at the same point: right when things get complex.
A new machine. A new workflow. A process with ten steps and zero room for error.
What often follows is familiar, long documents no one rereads, videos no one remembers, and senior staff repeating the same explanations again and again. People nod, try their best, and still make mistakes. Not because they’re careless, but because the training never really clicked.
It doesn’t have to be this way.
Learning Works Better When You Can See It
Think about the last time you learned something properly. You probably didn’t do it by reading a wall of text.
You watched. You tried. You explored.
That’s the shift happening in modern training. Instead of telling people what to do, teams are starting to show them, clearly, visually, and step by step.
Interactive visual guides turn instructions into experiences.You don’t imagine the process. You walk through it.You don’t guess how something works. You see it from every angle.You don’t memorize steps. You interact with them.
This simple change makes a big difference.
Why Interactive Visual Training Works
When people can see what’s expected, mistakes drop fast. When they can explore at their own pace, training speeds up. When learning feels intuitive, confidence grows.
That’s why interactive visual guides are replacing traditional training across onboarding, equipment use, safety procedures, product education, and operations.
Teams use them to:
- Show exactly what to do and where to do it
- Cut training time without cutting clarity
- Help learners remember more, for longer
- Reduce reliance on constant supervision
- Prepare people before they touch real equipment
The result is fewer errors, less downtime, and far less frustration on all sides.
What Do Interactive Visual Guides Look Like?
Not all training needs the same format. The strength of visual learning is that it adapts to the task.
Some of the most effective approaches include:
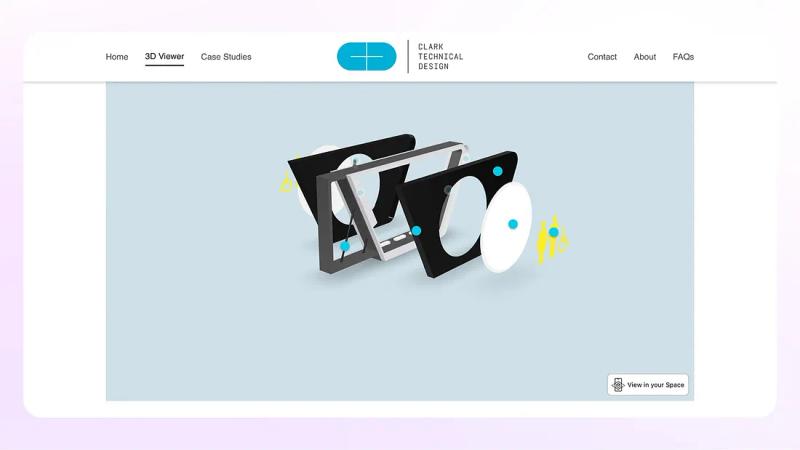
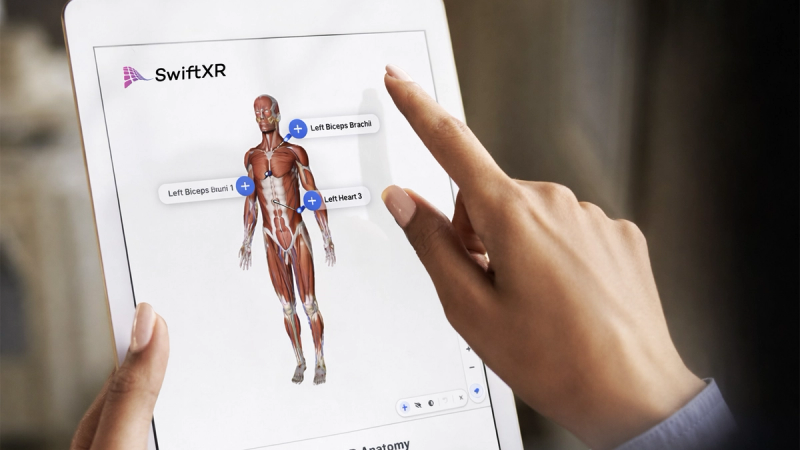
- Interactive 3D Models: Learners can rotate, zoom, and explore objects freely, tools, products, equipment, even the human body. Labels and highlights guide attention without overwhelming.
- Step-by-Step Visual Walkthroughs: Processes broken into clear, visual stages. Perfect for onboarding, assembly, installations, and repeatable workflows.
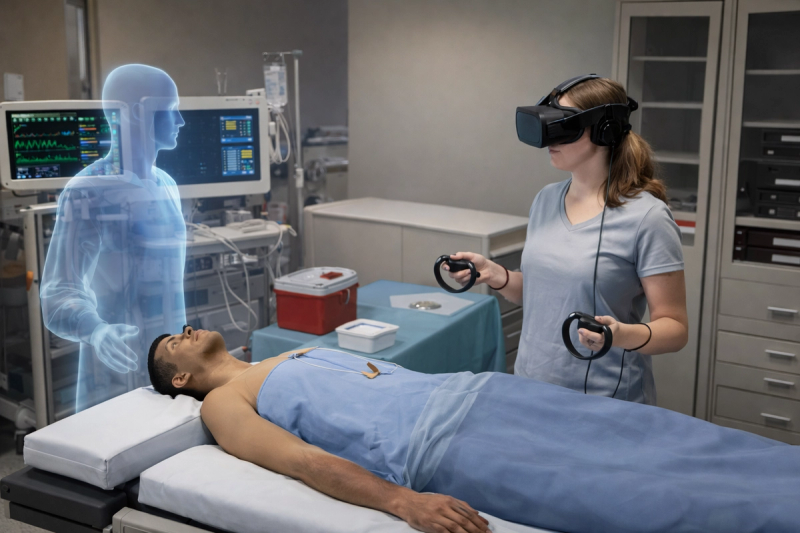
- Virtual Environment Training: Digital replicas of operating rooms, factories, or job sites where learners rehearse procedures, safety steps, and decision-making before performing them in the real world.
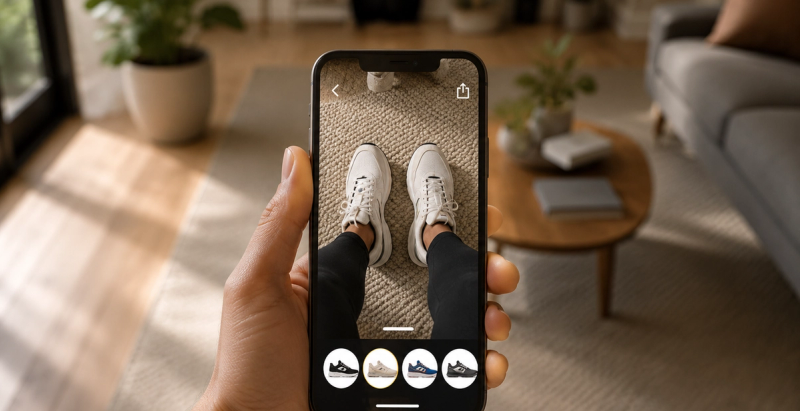
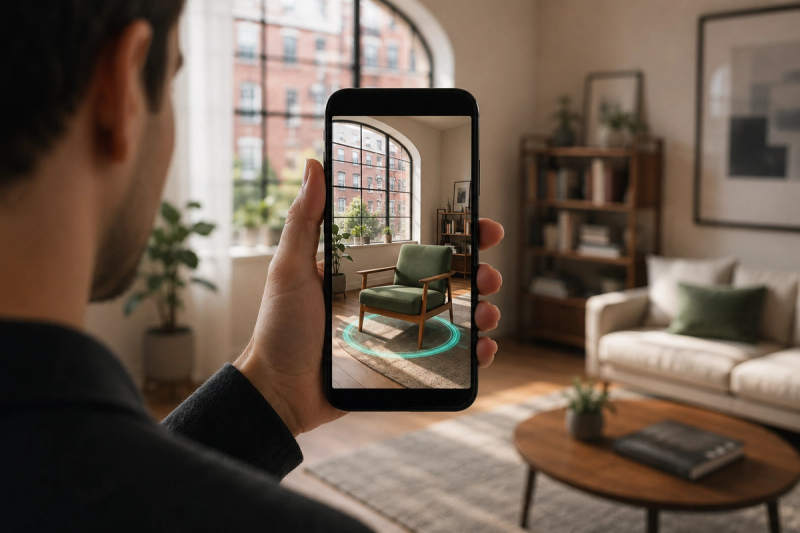
- AR Training Experiences: Instructions appear directly on top of real-world objects through a phone or tablet, guiding users in the moment they need help.
Each format removes guesswork and replaces it with clarity.
Turning 3D Models Into Interactive Training, Without the Headache
This is where tools like SwiftXR come in.
If you already have 3D models, you can easily & quickly make them explorable, guided, and easy to understand, no coding required.
Learners can:
- Rotate and inspect models freely
- Click through hotspots/labels
- Understand components visually instead of memorizing names
For more advanced needs, like AR training, VR simulations, or immersive walkthroughs, custom experiences can be designed around specific training goals.
How to Create an Interactive 3D Model on SwiftXR (No Code)
Interactive 3D models are the easiest visual training experience to create on SwiftXR, and anyone can do it in minutes.
Once you’re logged in:
1. Add the Augmented Reality (AR) component
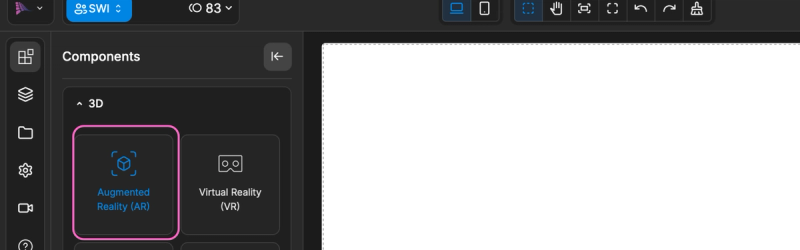
Start by selecting the AR component in the editor.
2. Add your 3D model
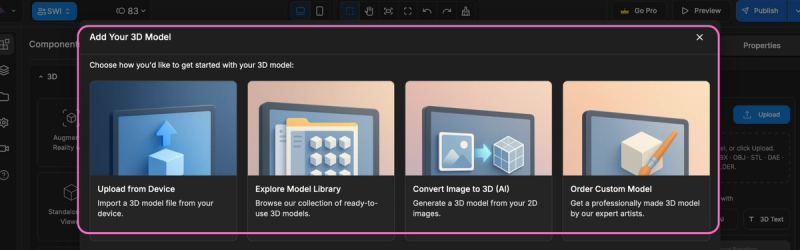
You can:
- Import a model from your device
- Choose a free model from the SwiftXR store
- Request the SwiftXR team to create one for you
3. Place the model in the scene

Drag and drop your 3D model into the component.
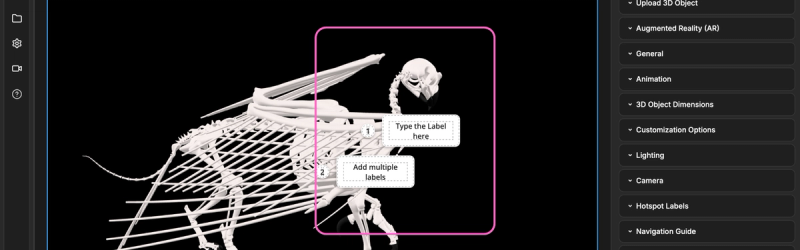
4. Add hotspots
Open the properties panel and select Hotspot.Place hotspots on key parts of the model to guide attention.
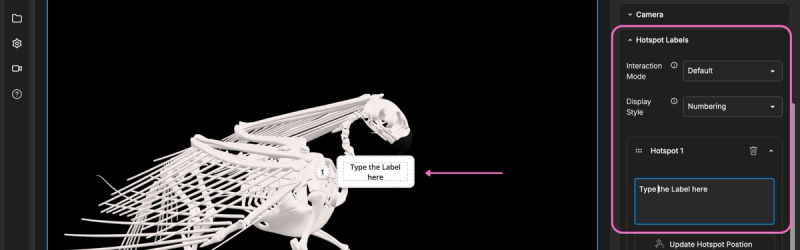
5. Label each hotspot
Add short labels or instructions to explain components, steps, or actions.
6. Publish
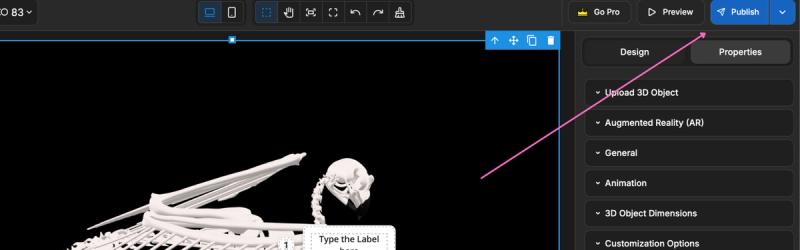
Once you’re satisfied, publish your experience and share it instantly.
That’s it. You’ve turned a static 3D model into an interactive training tool.
Get started the way that fits your needs
Build interactive 3D training yourself
Create and publish interactive 3D models in minutes.
👉 https://swiftxr.io/hub
Design advanced AR & VR training experiences
For simulations, procedural training, and immersive environments, talk to our team.
👉 Book a call: https://calendly.com/swiftxr/